Building your first map
Create a saved map, choose which records appear, and preview how customers will see it.
Maps let you share a live, interactive view of your records with customers and prospects. Each saved map is a named, shareable snapshot that you can customize with filters, colors, and visibility settings.
Create your first map
- In the dashboard sidebar, click Maps.
- In the top-right corner, click + New. A dialog titled "New saved map" opens.
- Enter a Name for your map (required). For example: "Completed jobs 2024".
- Choose a Data source from the dropdown. Usually this is one of your record types (such as your roofing jobs), which determines which records appear as pins. If you've connected an external data source, it appears in the same list and the map's pins come from there instead.
- Optionally add a Description to remind yourself what the map is for.
- Click Create map. The dialog closes and your new map appears in the list.
Tip: Every account starts with a default map (marked with a ★). Your public profile page always links to the default map. You can promote any map to default by selecting it and clicking Make default in the bulk action bar.
What appears on the map
Every published record of the chosen record type that has a valid address shows up as a pin. The map reads your records in real time. When you publish a new job, it appears on the map automatically. Unpublished (draft) records are never shown.
If you want to narrow down which records appear, you can apply filters after creation. See Customizing your map for details.
Open a saved map
Click any map row in the Maps list to open its overview. The sidebar shows four things at a glance:
- An Overview section with a record count, lead count, regions covered, and last activity time.
- A Configuration section listing the current settings for Visibility, Theme, Map style, Brand color, Pins, Filters, Splash screen, and Lead collection. Click any row to jump directly to that setting.
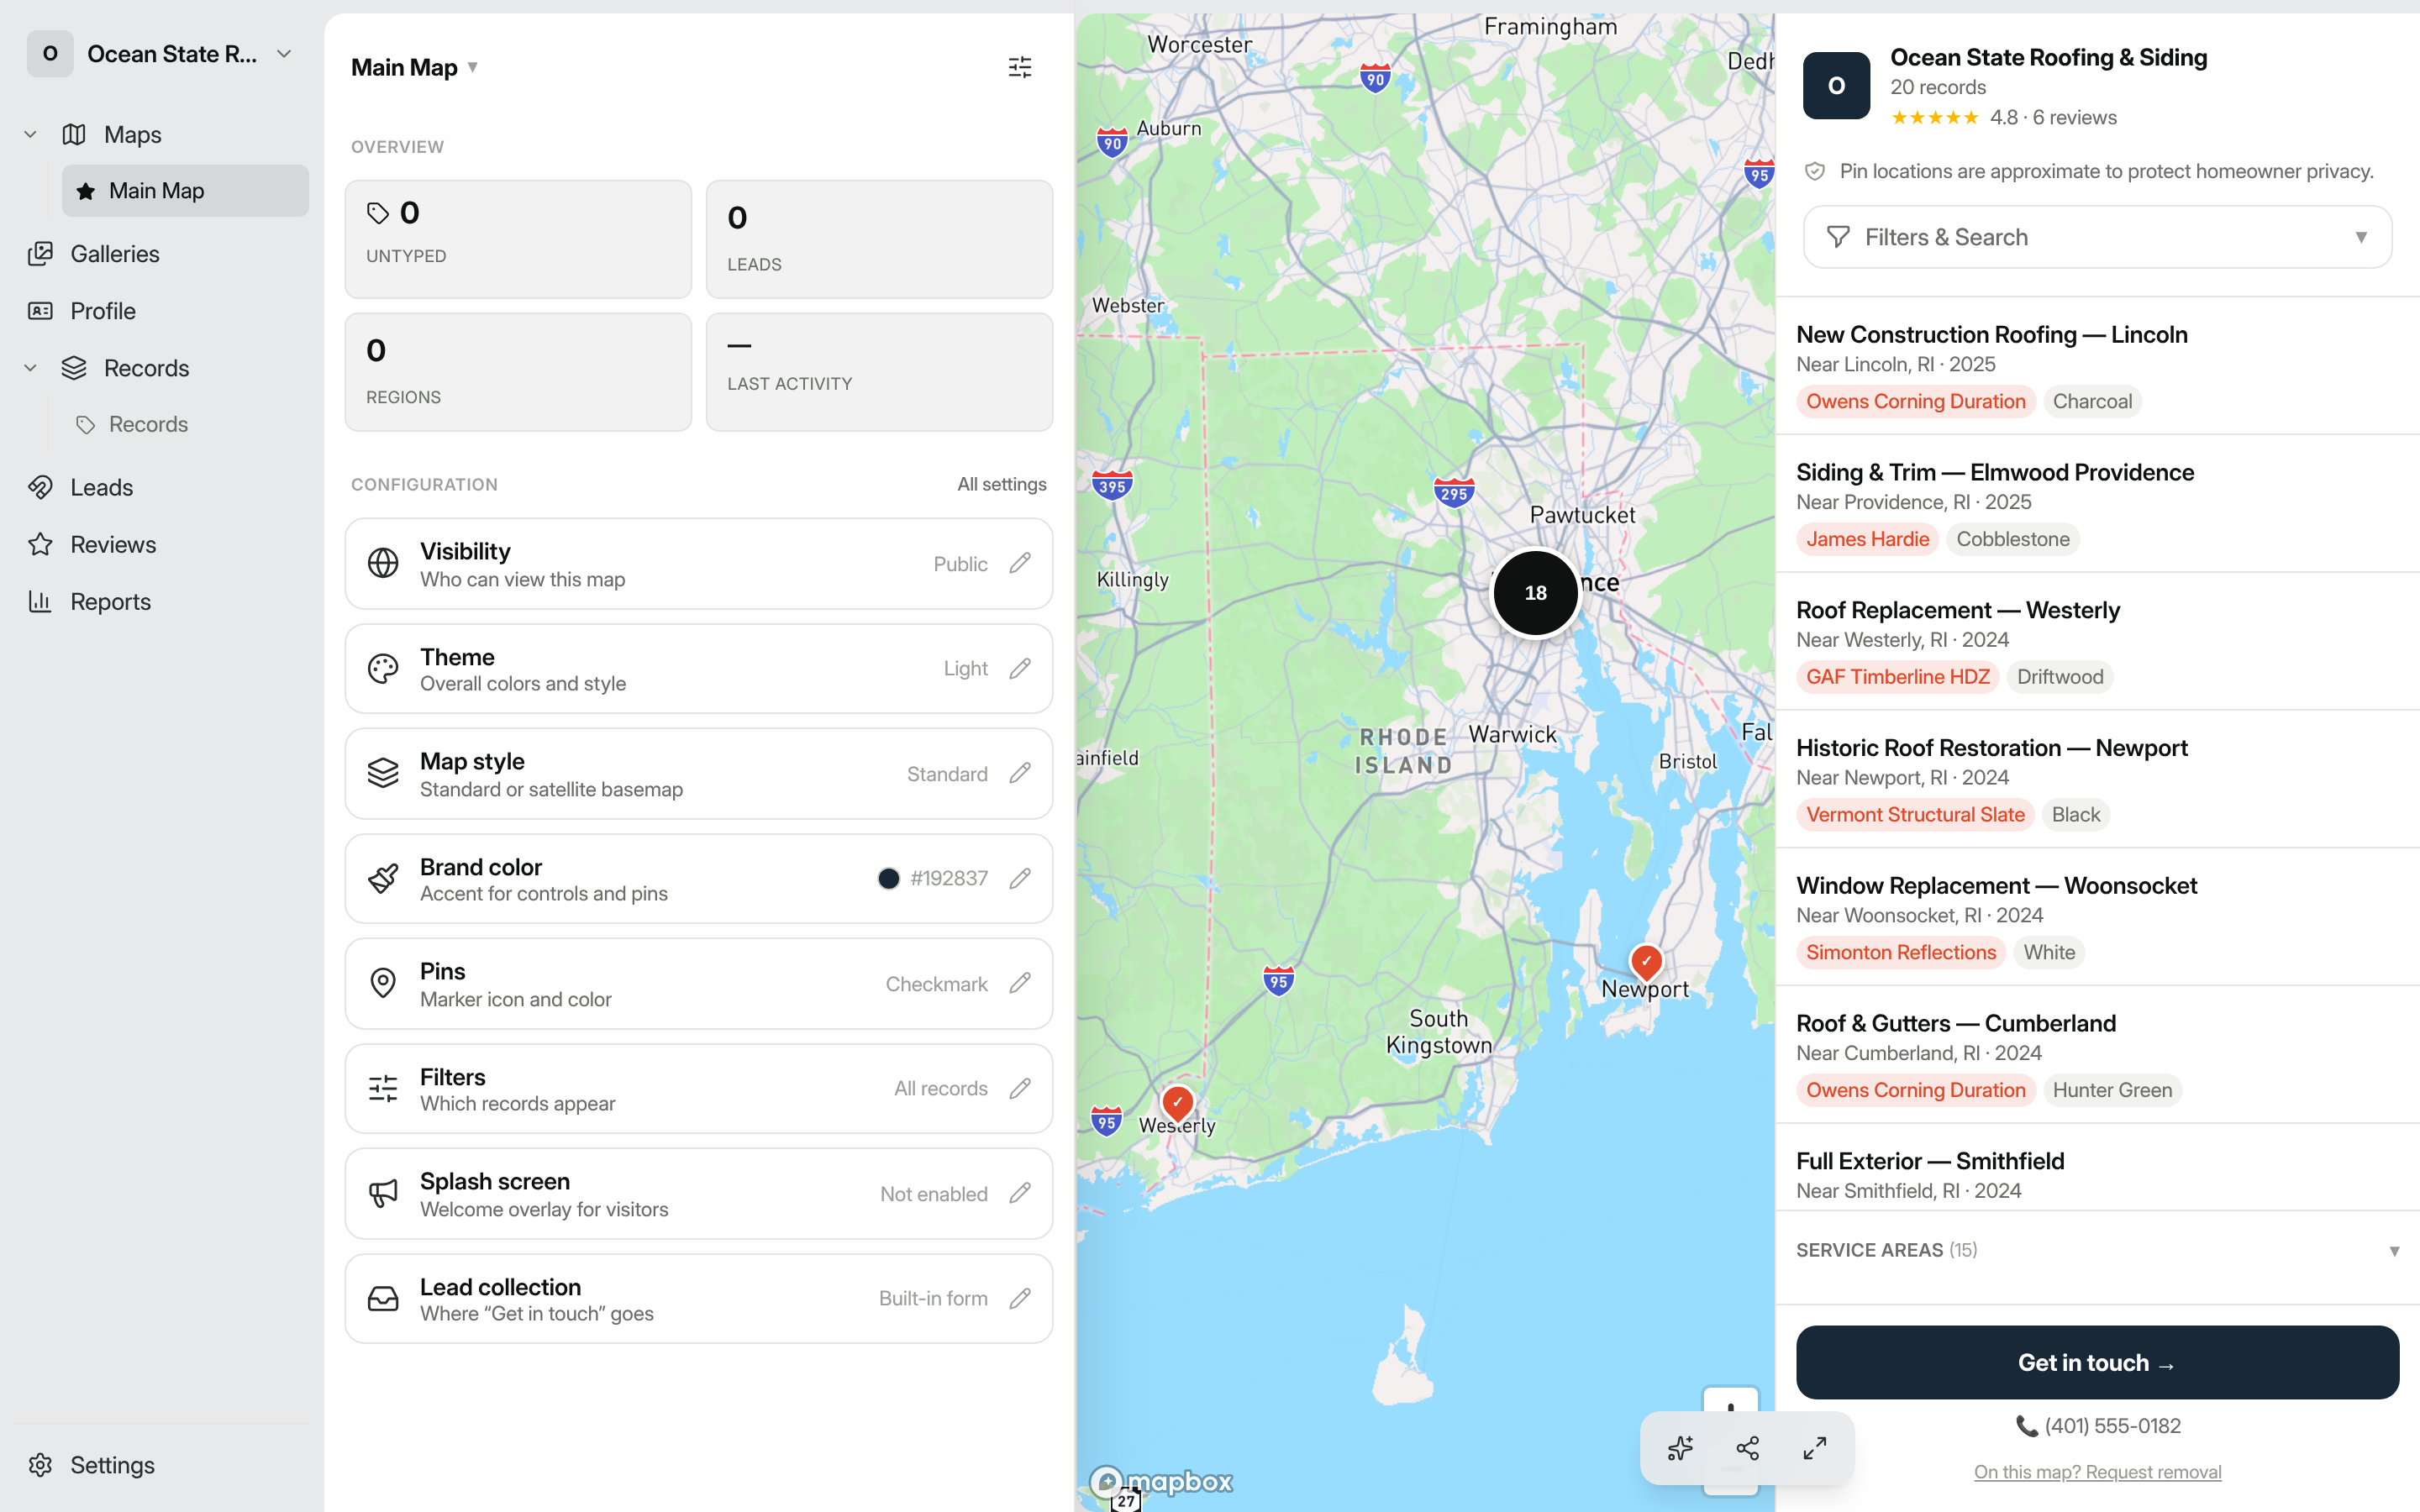
The map canvas fills the rest of the screen, rendering each published record as a pin.
Preview how a record looks
When you open an individual record from the Records section, you will see a Preview button next to the record. Clicking it loads that record's public detail page inside the map preview panel, so you can see exactly what a visitor sees before sharing the link.
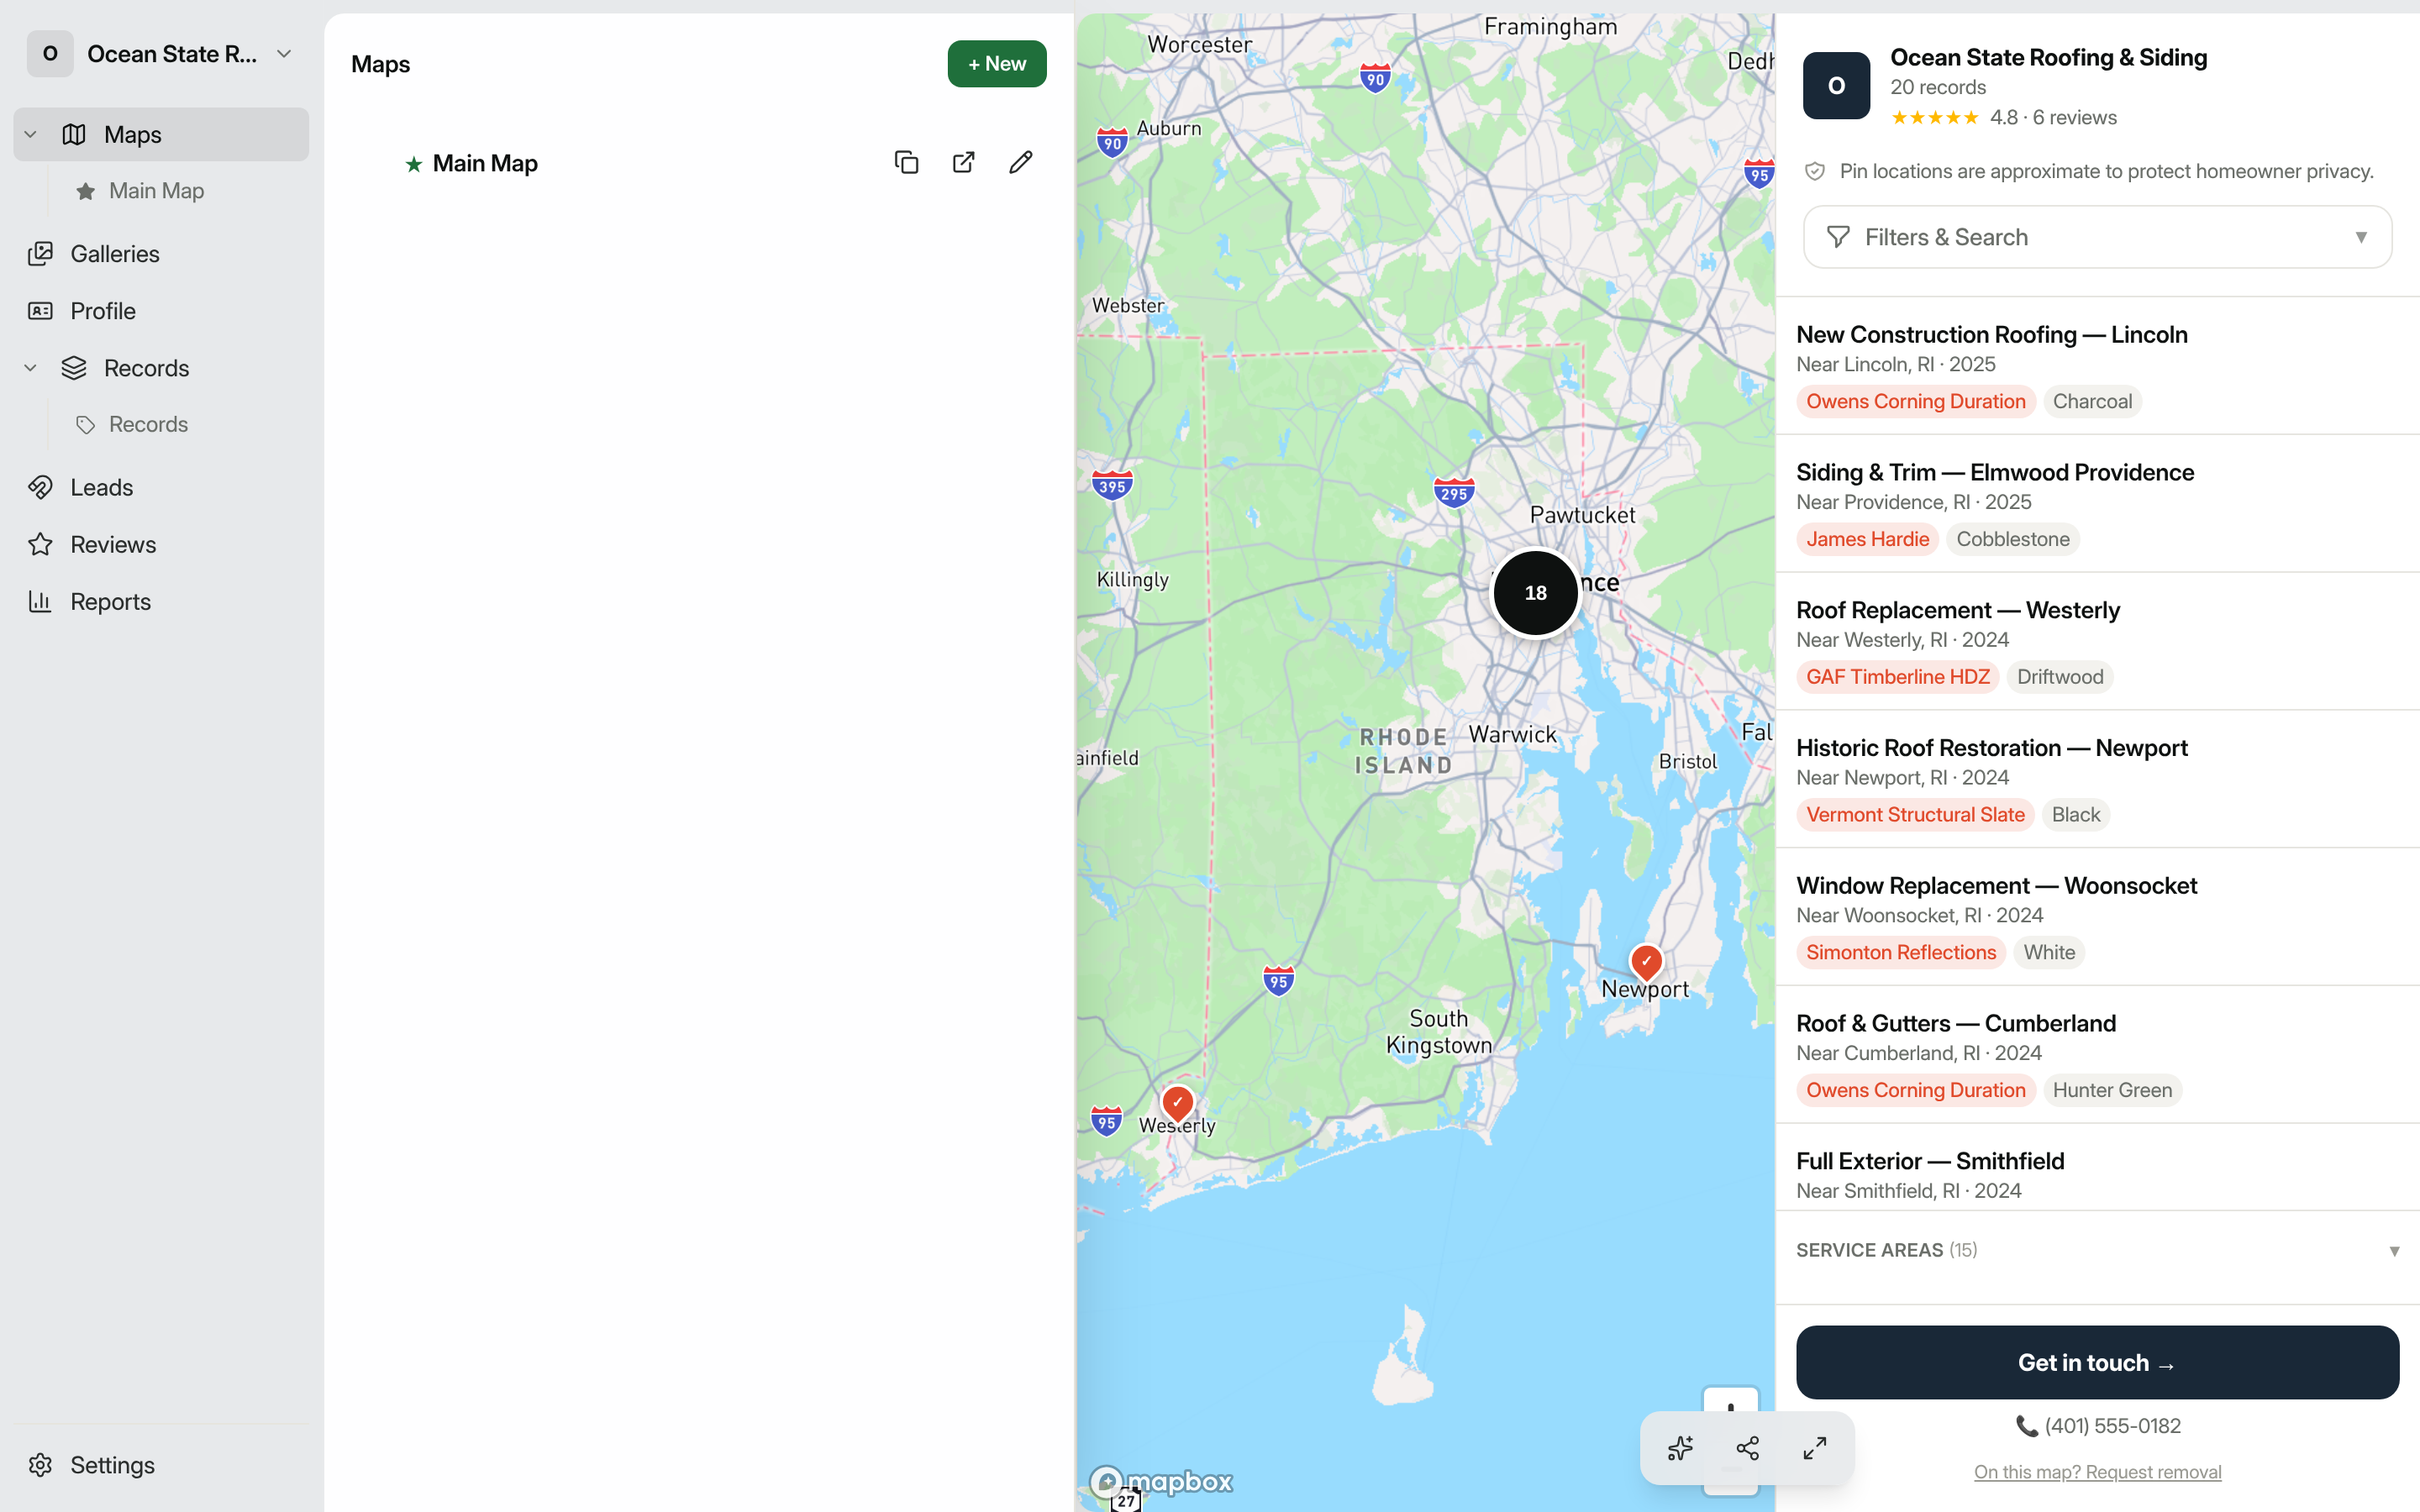
Share your map
When you are ready to share, each row in the Maps list has two quick-action buttons: a copy icon to copy the public share link, and an external-link icon to open the public map in a new tab. For more control over who can view the map, see Sharing your map.