Sharing & embedding your map
Publish your map, share its link, and embed it on your website in a few clicks.
Once your map has records on it, you can share it with customers, embed it on your website, or keep it private for your team. All of these options live in one place: the Sharing settings for each map.
Open the Sharing settings
- In the dashboard, click Maps in the left navigation.
- Click the pencil icon next to the map you want to share to open its settings.
- In the map settings left nav, click Sharing.
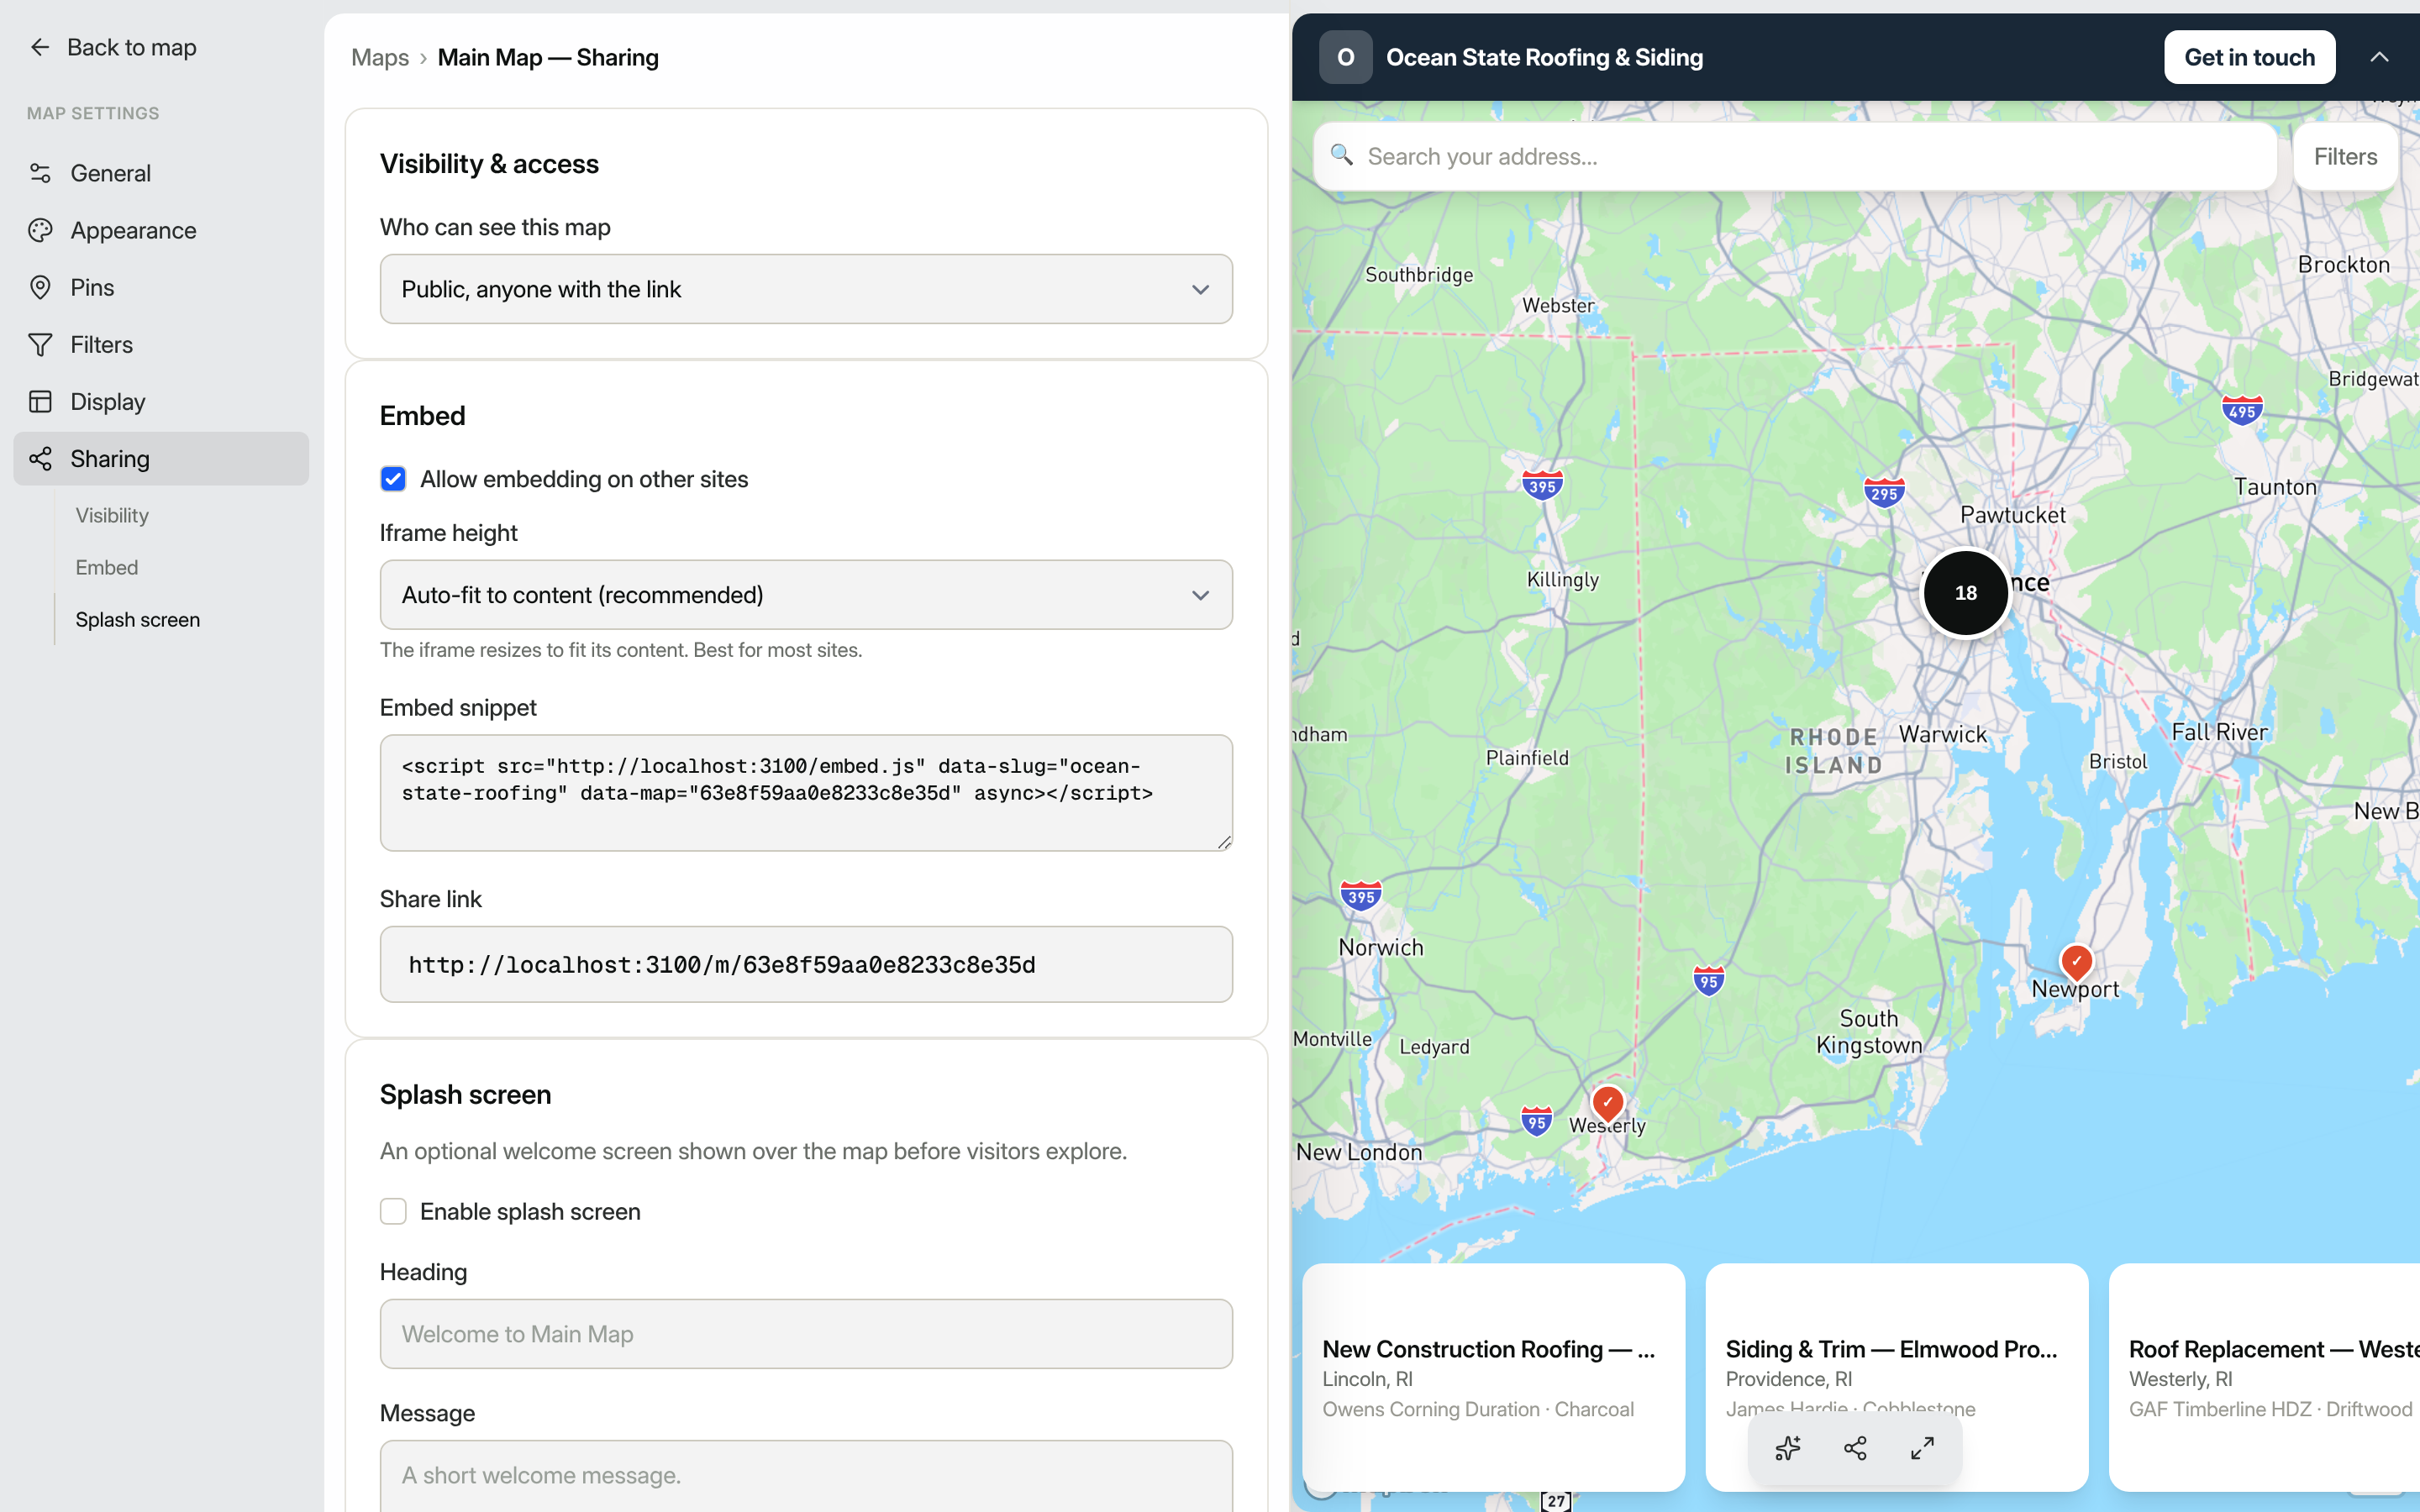
Set who can see your map
Under Visibility & access, use the Who can see this map dropdown to choose one of four options:
- Public (anyone with the link): the map is open to anyone with the URL and can appear in search results.
- Unlisted (link only, never indexed): anyone with the link can view it, but it won't be indexed by search engines.
- Password (visitors must enter a password): visitors are prompted for a password before the map loads. A Password field appears when you select this option; fill it in and click Save.
- Team only (signed-in team members): only people signed in to your account can view the map.
Click Save after changing the visibility setting.
Get your share link
In the Embed card, your map's unique Share link is displayed in a read-only field. Copy it and paste it anywhere: an email, a social post, your Google Business Profile, or a text message to a customer.
The share link uses a private token tied to the map, so it keeps working even if you rename the map later.
Embed the map on your website
To place the map directly on a page of your own website:
- In the Embed card, check Allow embedding on other sites. (This option is not available for Team-only maps.)
- Choose an Iframe height mode:
- Auto-fit to content (recommended): the iframe resizes automatically to fit the map.
- Auto-fit with a minimum height: auto-resize, but never shorter than a floor you set.
- Fixed height: locks to a specific height; accepts pixels,
vh, or%.
- Copy the code shown in the Embed snippet field.
- Paste it into your website's HTML where you want the map to appear.
- Click Save.
Tip: The embed snippet is a lightweight script tag that handles automatic resizing, so your map will look great on mobile without any extra configuration on your end.
Add a splash screen
A splash screen is an optional welcome overlay shown to visitors before they start exploring the map. It is a good place to briefly explain what the map shows or to prompt a specific action.
- Under Splash screen, check Enable splash screen.
- Fill in the Heading, Message, and Button label fields. Leaving them blank uses sensible defaults (the heading falls back to "Welcome to [your map name]"; the button falls back to "Explore the map").
- Click Save.
What the public map looks like
When a visitor opens your share link, they see your branded public map: your color scheme, your pins, and your record details when they click a pin.
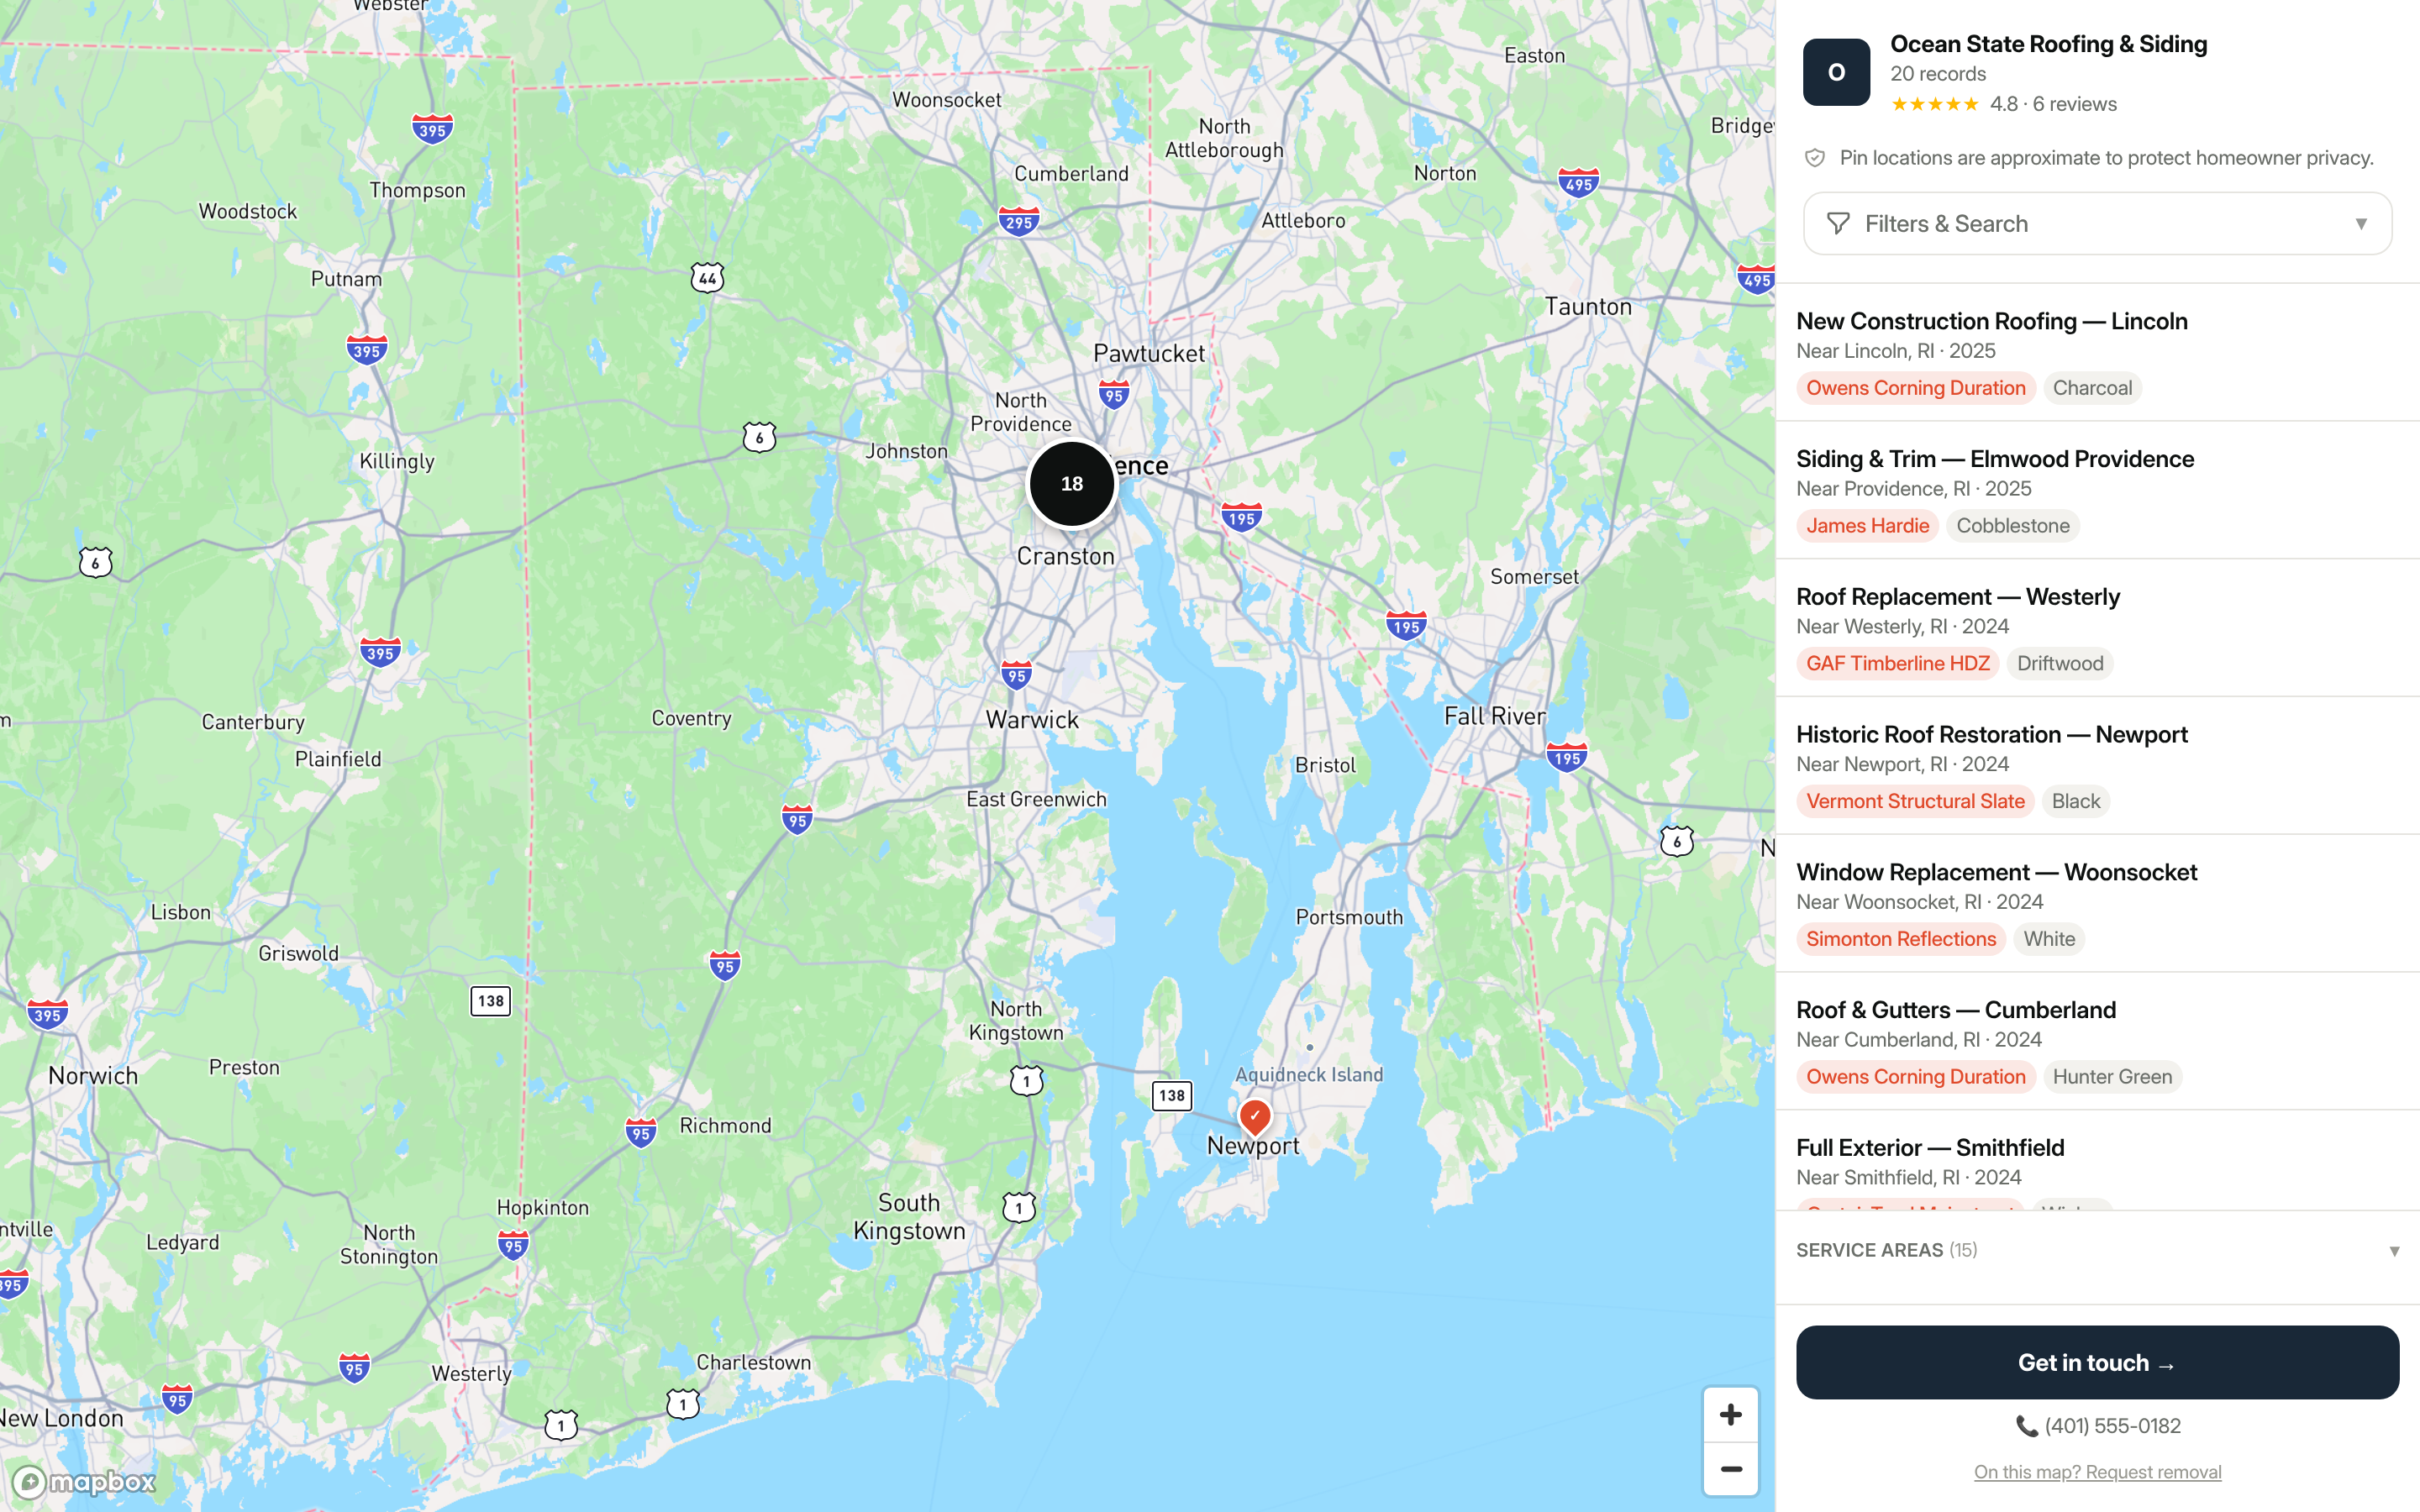
For more on what appears on the map, see Customizing your map and Building a map.