Capturing & managing leads
Turn map visitors into leads and work them from your dashboard inbox.
When someone visits your public map and wants to hire you, they tap "Get in touch", and their details land instantly in your leads inbox. Here's how the whole flow works and how to stay on top of every inquiry.
How visitors become leads
Every record on your public map shows a "Get in touch" button. When a visitor taps it, a contact form appears with fields for name, email, phone, and a message. When they click "Send message," SawYourSign saves the submission as a new lead tied to your account.
If a visitor clicks through to a specific record's detail page, their lead is automatically tagged with that record's title so you know exactly what caught their eye.
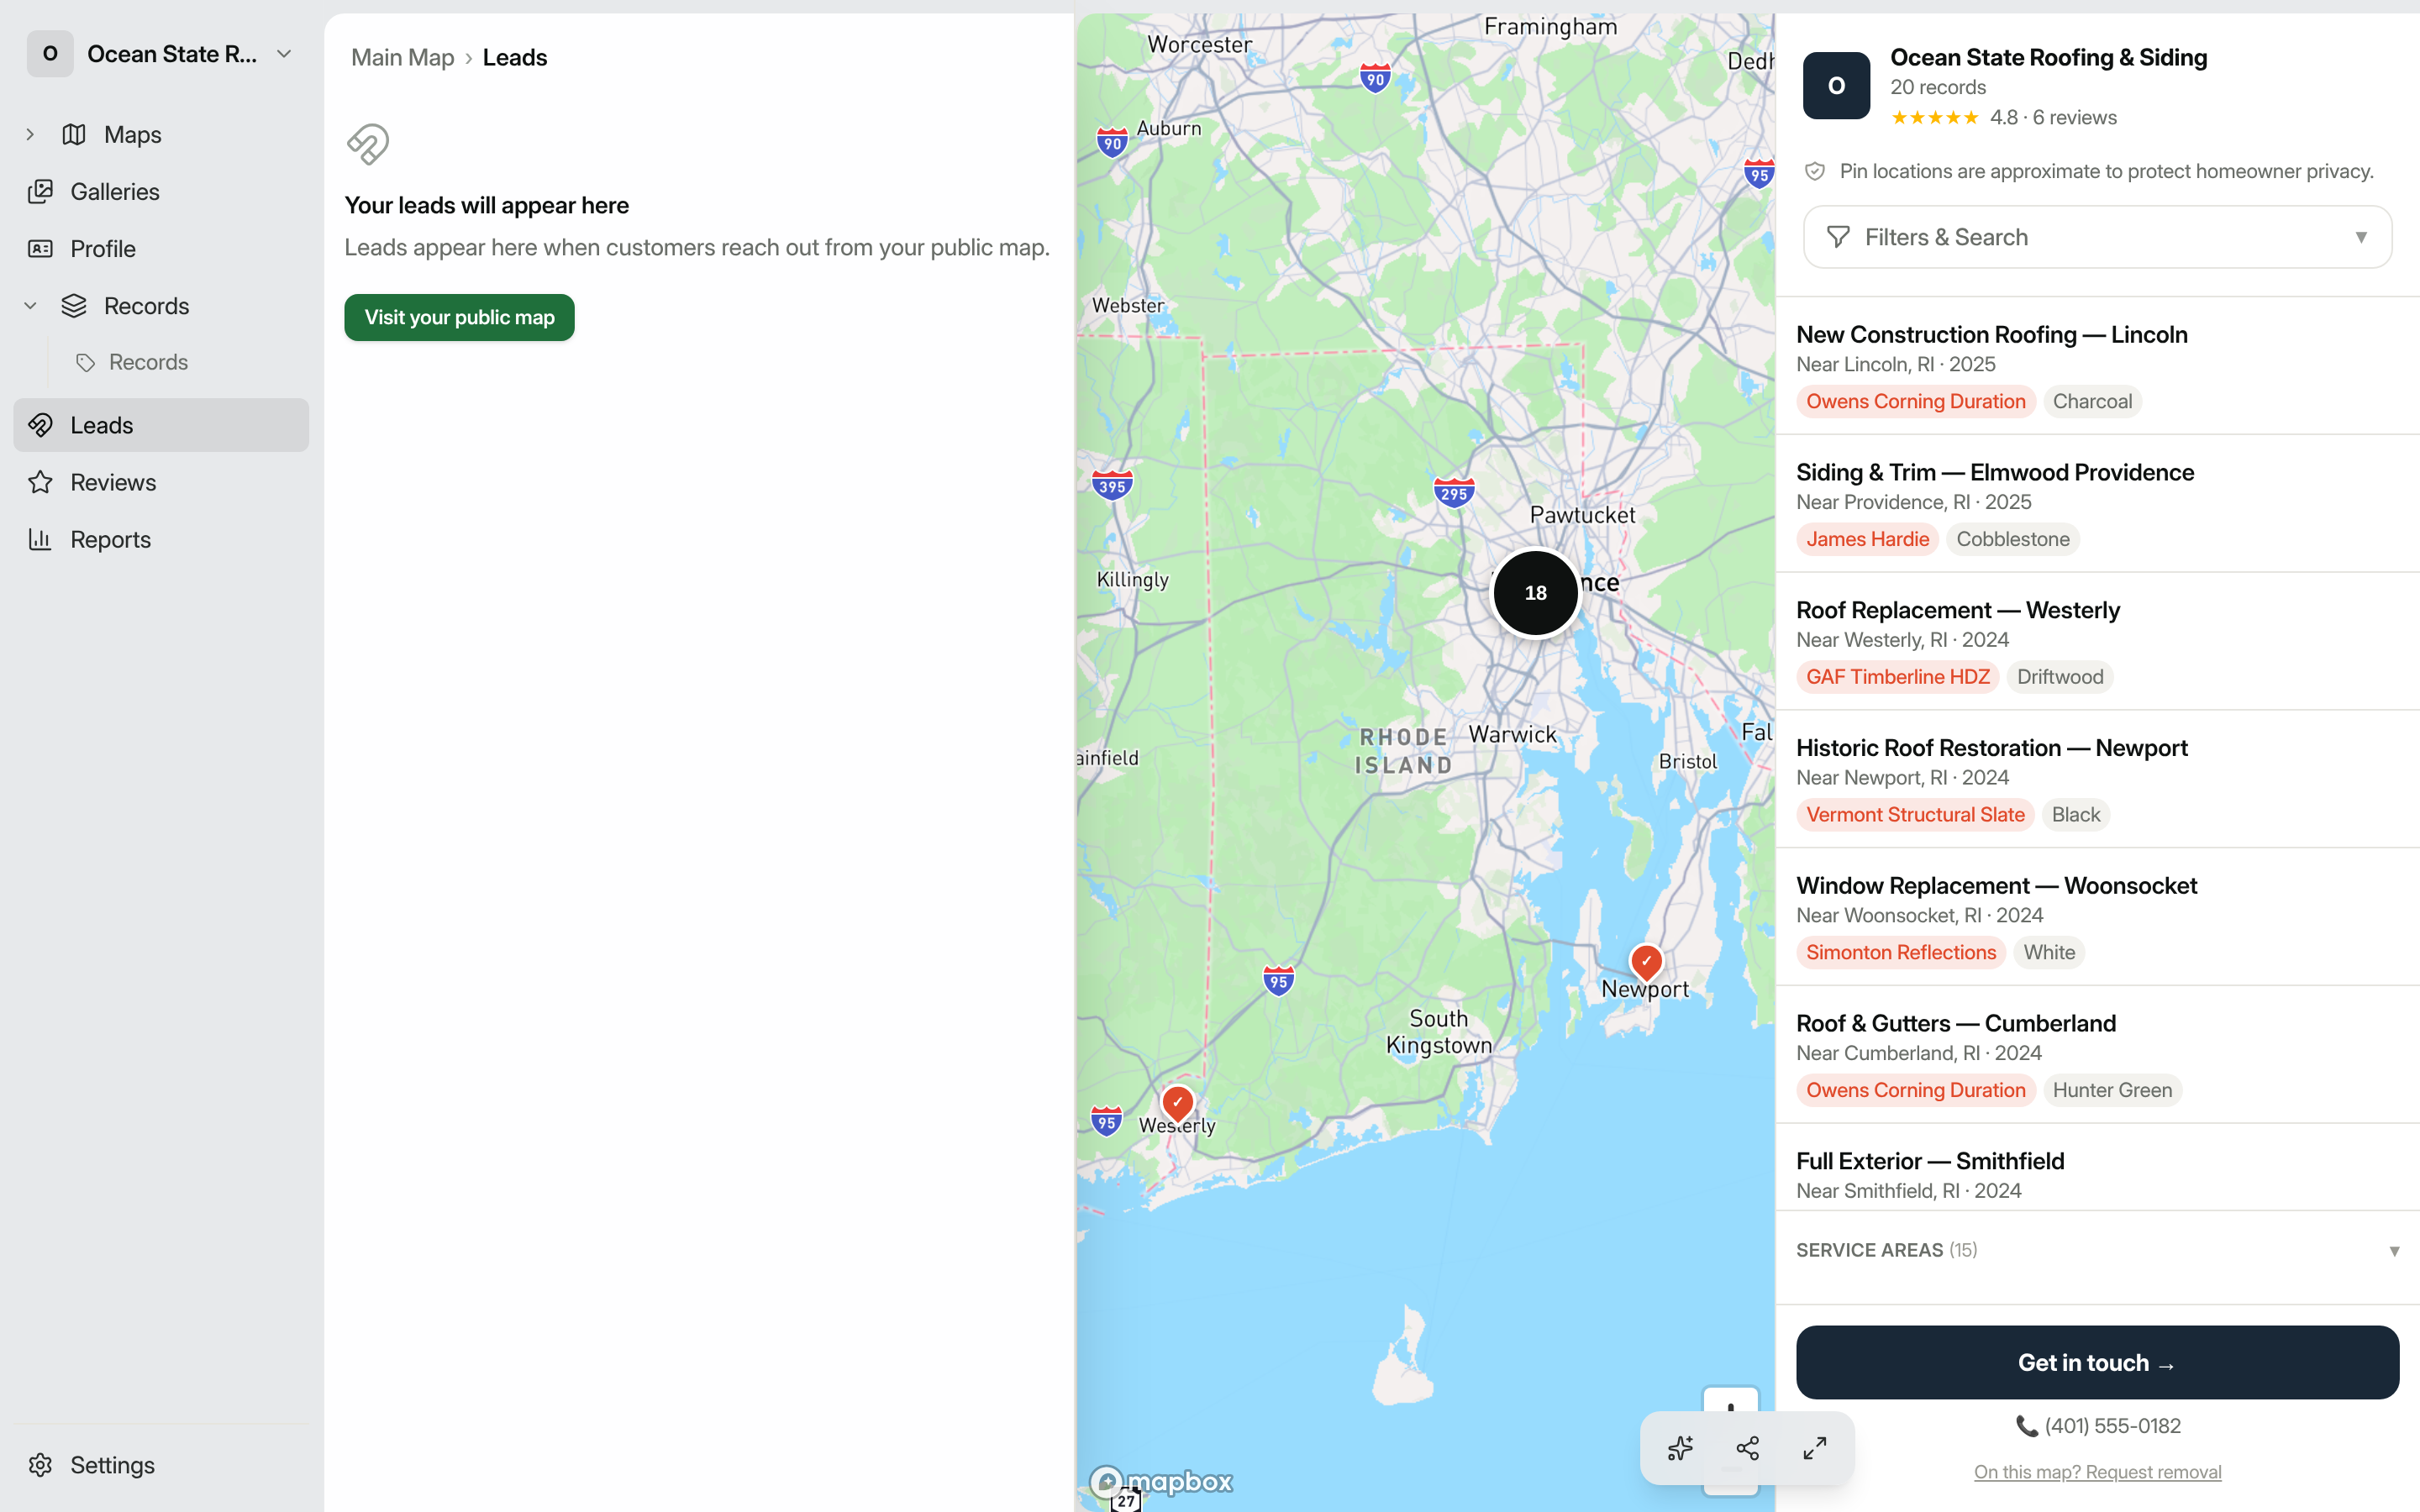
Your leads inbox
Go to Leads in the left navigation. Every lead you've received appears in a list, sorted newest first, up to 200 at a time.
Each lead card shows:
- The visitor's name, email (clickable to open your email client), and phone (clickable to dial)
- Their message
- Which record they were looking at ("Viewed: [record title]")
- A quality score (High / Med / Low) based on how much of the form they filled in (name, email, phone, and message each contribute equally)
- The date and time the lead came in, plus any UTM campaign data if your link was tagged
Filtering and searching
Above the list you'll find a search bar and a row of status filter tabs: all, new, contacted, qualified, won, lost, and spam. The "all" tab hides spam by default; click "spam" to see those separately.
Each tab shows a count badge so you can see at a glance how many leads are in each stage.
The unread badge
The bell icon in the dashboard header shows a count of unread leads. The number also appears as a badge next to Leads in the sidebar. The badge clears as soon as you visit the Leads page.
Updating a lead's status
On the right side of each lead card, use the dropdown to move the lead through your pipeline. The available stages are:
- new: just arrived, not yet reviewed
- contacted: you've reached out
- qualified: confirmed fit for your services
- meeting scheduled: a meeting is booked
- won: job closed
- lost: didn't convert
- spam: unwanted submission (hidden from the "all" view)
The page reloads after you change a status so counts stay accurate.
Adding internal notes
Click Add note on any lead card to open a text area. Type your notes and click away. Notes save automatically on blur and are internal only, never visible to the lead. Once a note exists, the button label changes to Note and highlights in amber so you can spot annotated leads at a glance.
Exporting to CSV
When you have at least one lead, an Export CSV button appears in the top-right corner of the page. Clicking it downloads a file containing all your leads with columns for name, email, phone, address, service type, message, status, notes, record title, UTM parameters, referrer URL, and date.
Email notifications
To receive an email the moment a new lead comes in, go to Settings → Workspace and enter an address in the Notification email field under the "Lead routing" section. New leads from any of your maps are emailed to that address immediately.
Tip: If you're not seeing new leads in the inbox, check whether any of your maps have a "Get in touch" redirect configured. Those submissions go directly to an external URL and don't appear here. The inbox will show a banner if this is the case.